Operations Guide
This guide focuses on the current UI workflow for adding and controlling agents.
1. Open Fleet Manager (Hosted)
Open Fleet Manager at:
https://manager.telemetryforge.io
2. Login
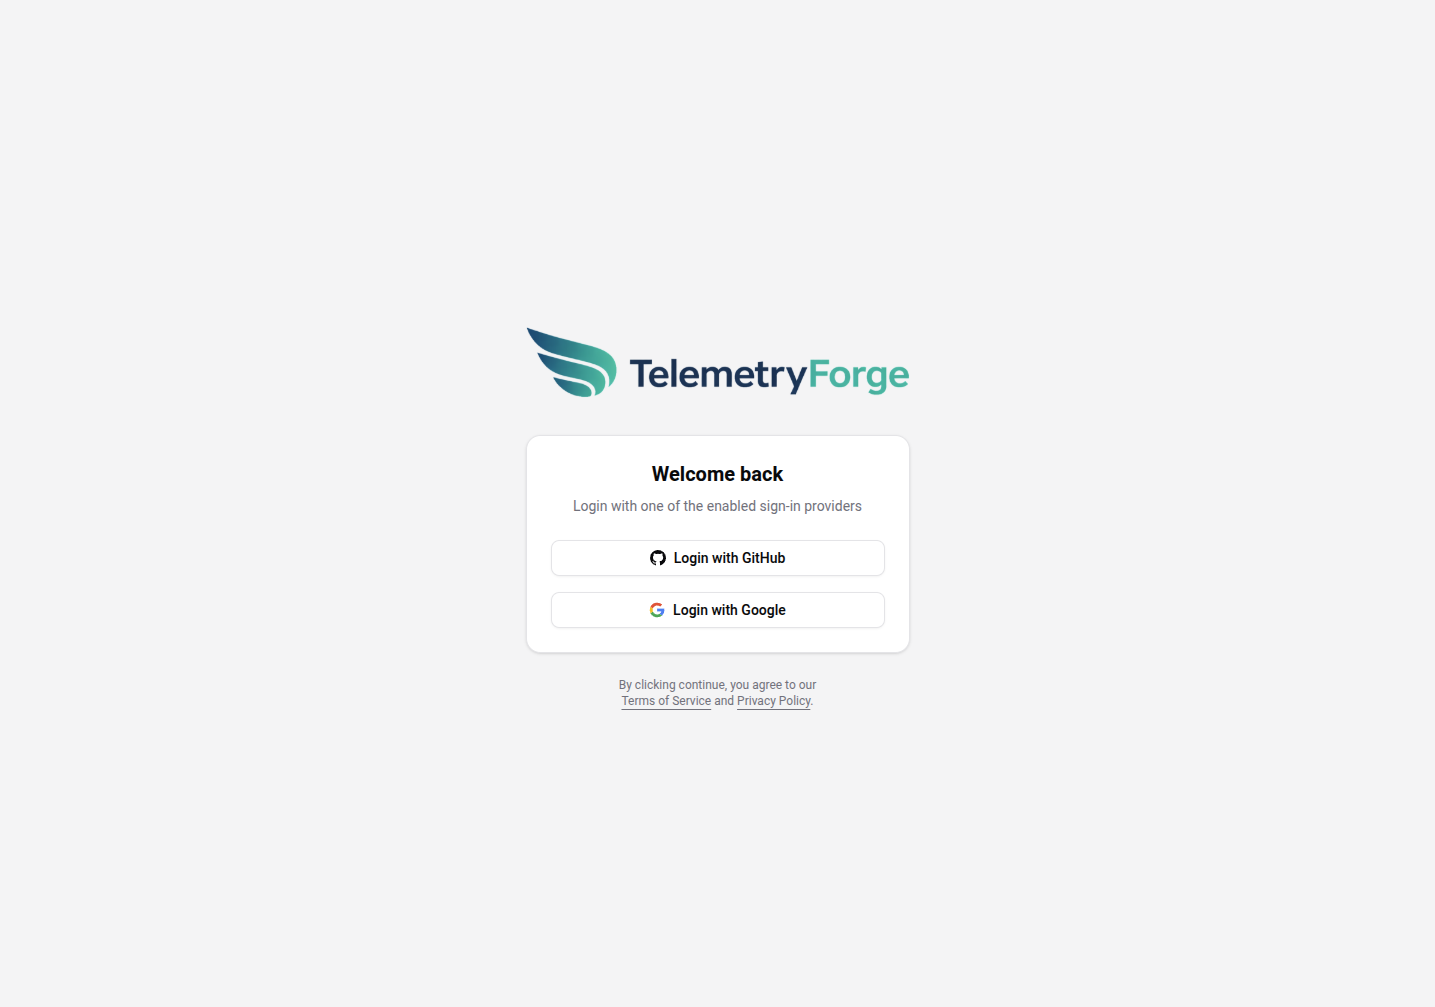
- Open the login page.
- Use one of the default production login providers.
3. Create or Select an Organization
- Use the org switcher in the left sidebar.
- Create a new org (or select an existing one).
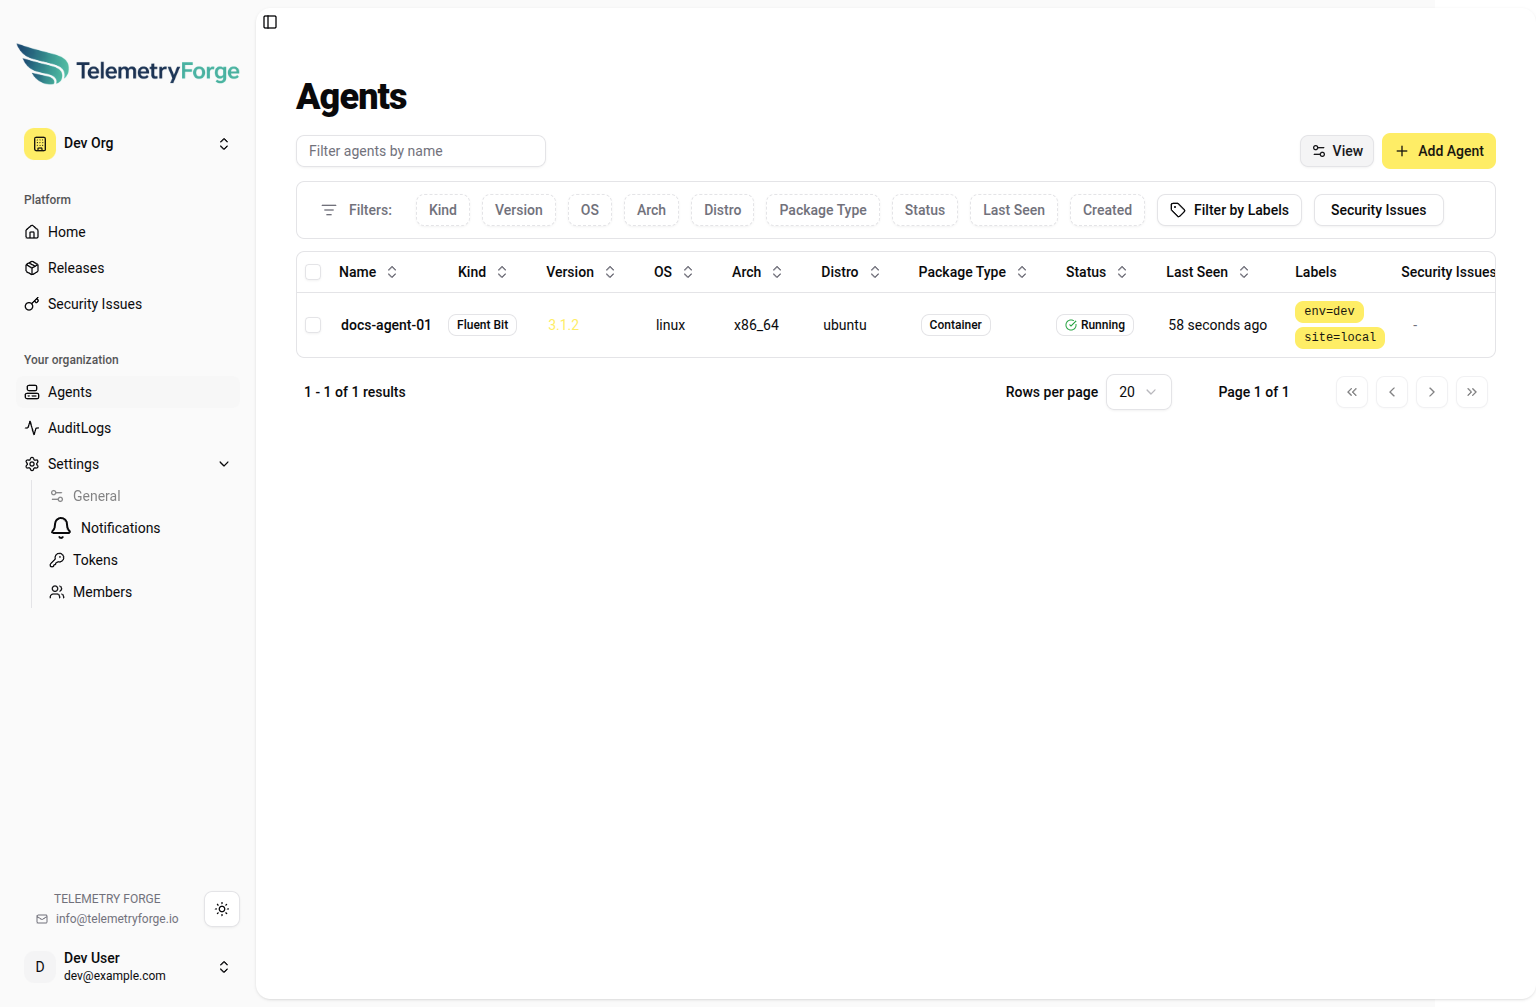
- Open Agents under the selected org.
4. Add an Agent
- In Agents, click Add Agent.
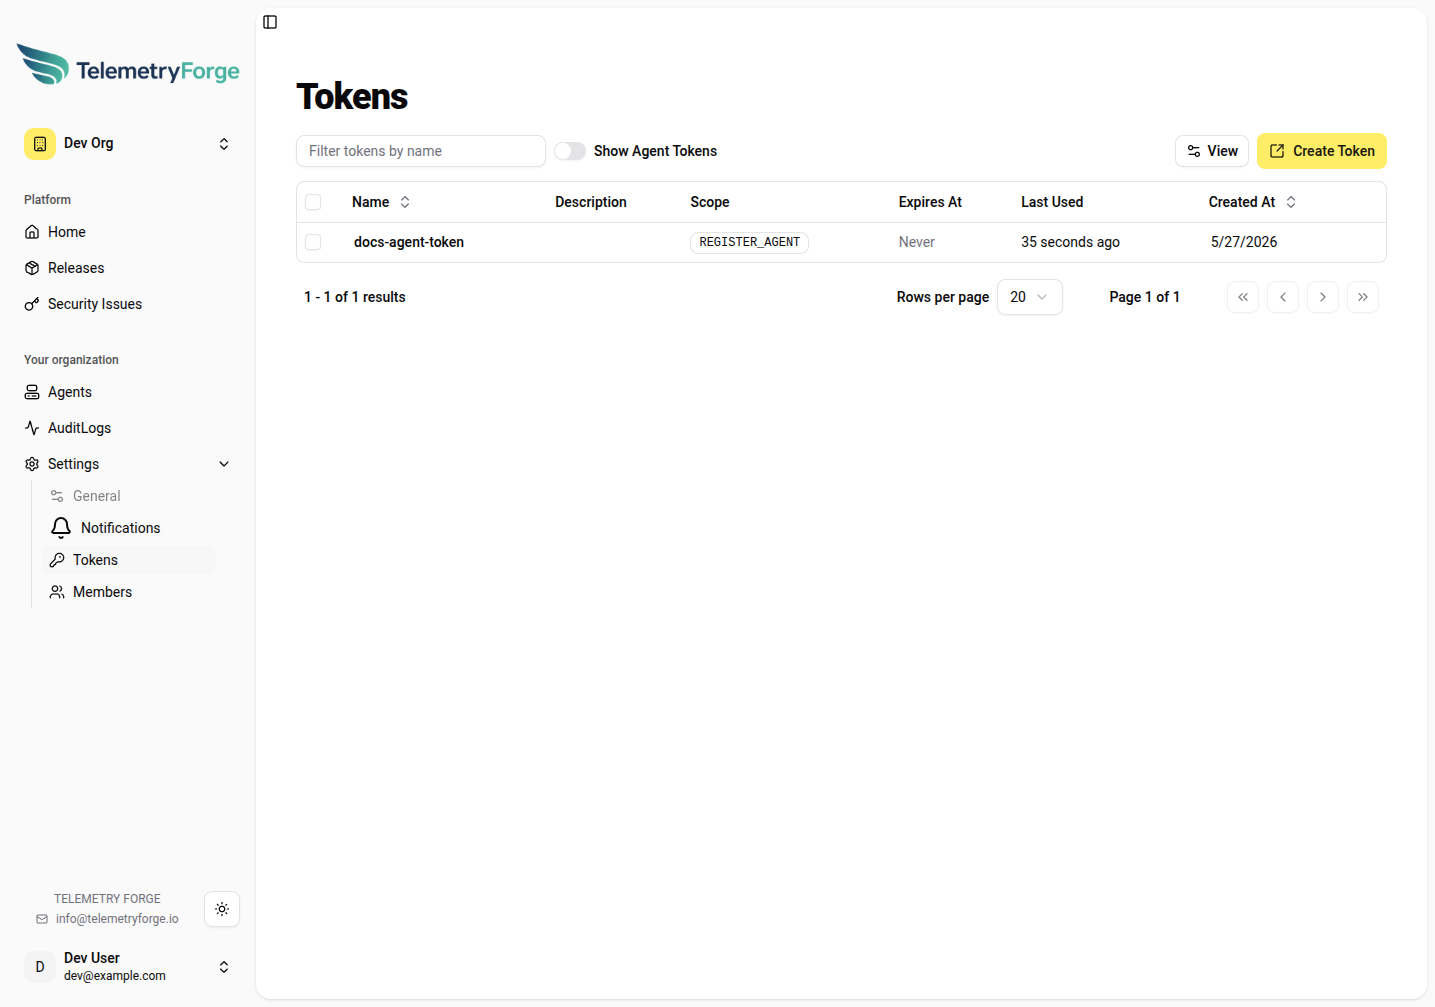
- In the onboarding flow, click Tokens.
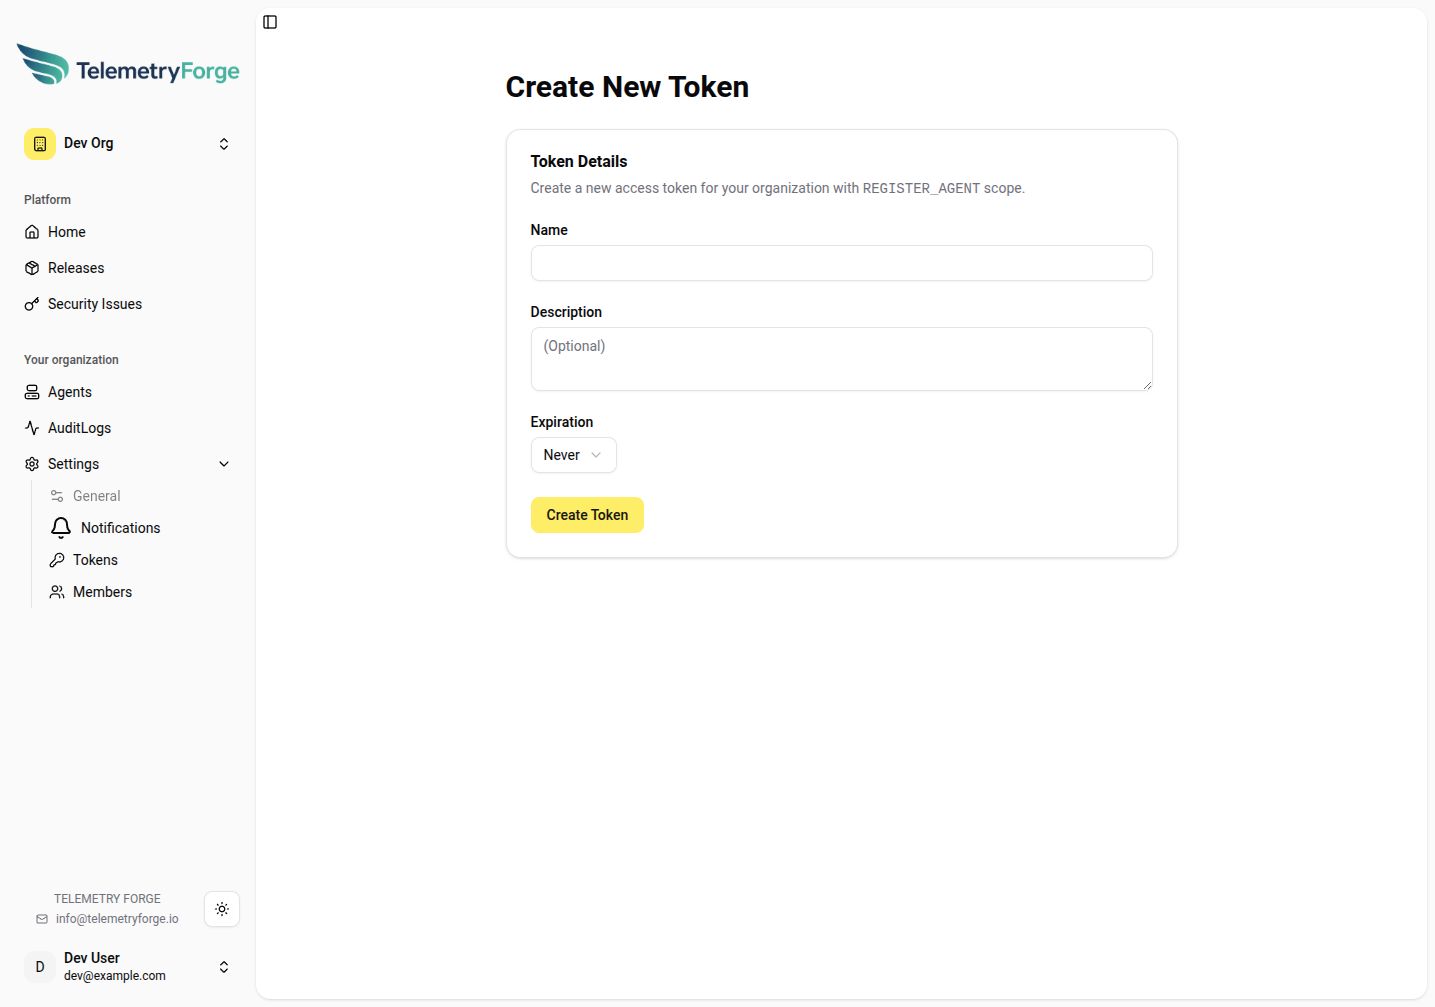
- Click Create Token.
- Create a token (scope is fixed to
REGISTER_AGENTin this form). - Copy the token immediately. The secret is only shown once.
- Use that token in your agent bootstrap process.
API Registration Shortcut
You can create an agent directly via GraphQL using a REGISTER_AGENT token:
curl -sS https://manager.telemetryforge.io/graphql \
    -H 'Content-Type: application/json' \
    -H 'Authorization: <REGISTER_AGENT_TOKEN>' \
    --data '{
        "query":"mutation($in: CreateAgentInput!){createAgent(in:$in){id token createdAt}}",
        "variables":{
            "in":{
                "kind":"FLUENTBIT",
                "name":"docs-agent-01",
                "version":"3.1.2",
                "config":"{\"service\":{\"flush\":1,\"log_level\":\"info\"},\"pipeline\":{\"inputs\":[{\"name\":\"tail\",\"tag\":\"demo.logs\",\"path\":\"/var/log/*.log\",\"read_from_head\":true}],\"outputs\":[{\"name\":\"stdout\",\"match\":\"demo.logs\"}]}}",
                "os":"linux",
                "arch":"x86_64",
                "distro":"ubuntu",
                "packageType":"CONTAINER",
                "labels":{"env":"dev","site":"local"}
            }
        }
    }'
Note: this API expects the raw token value in the Authorization header (not Bearer ...).
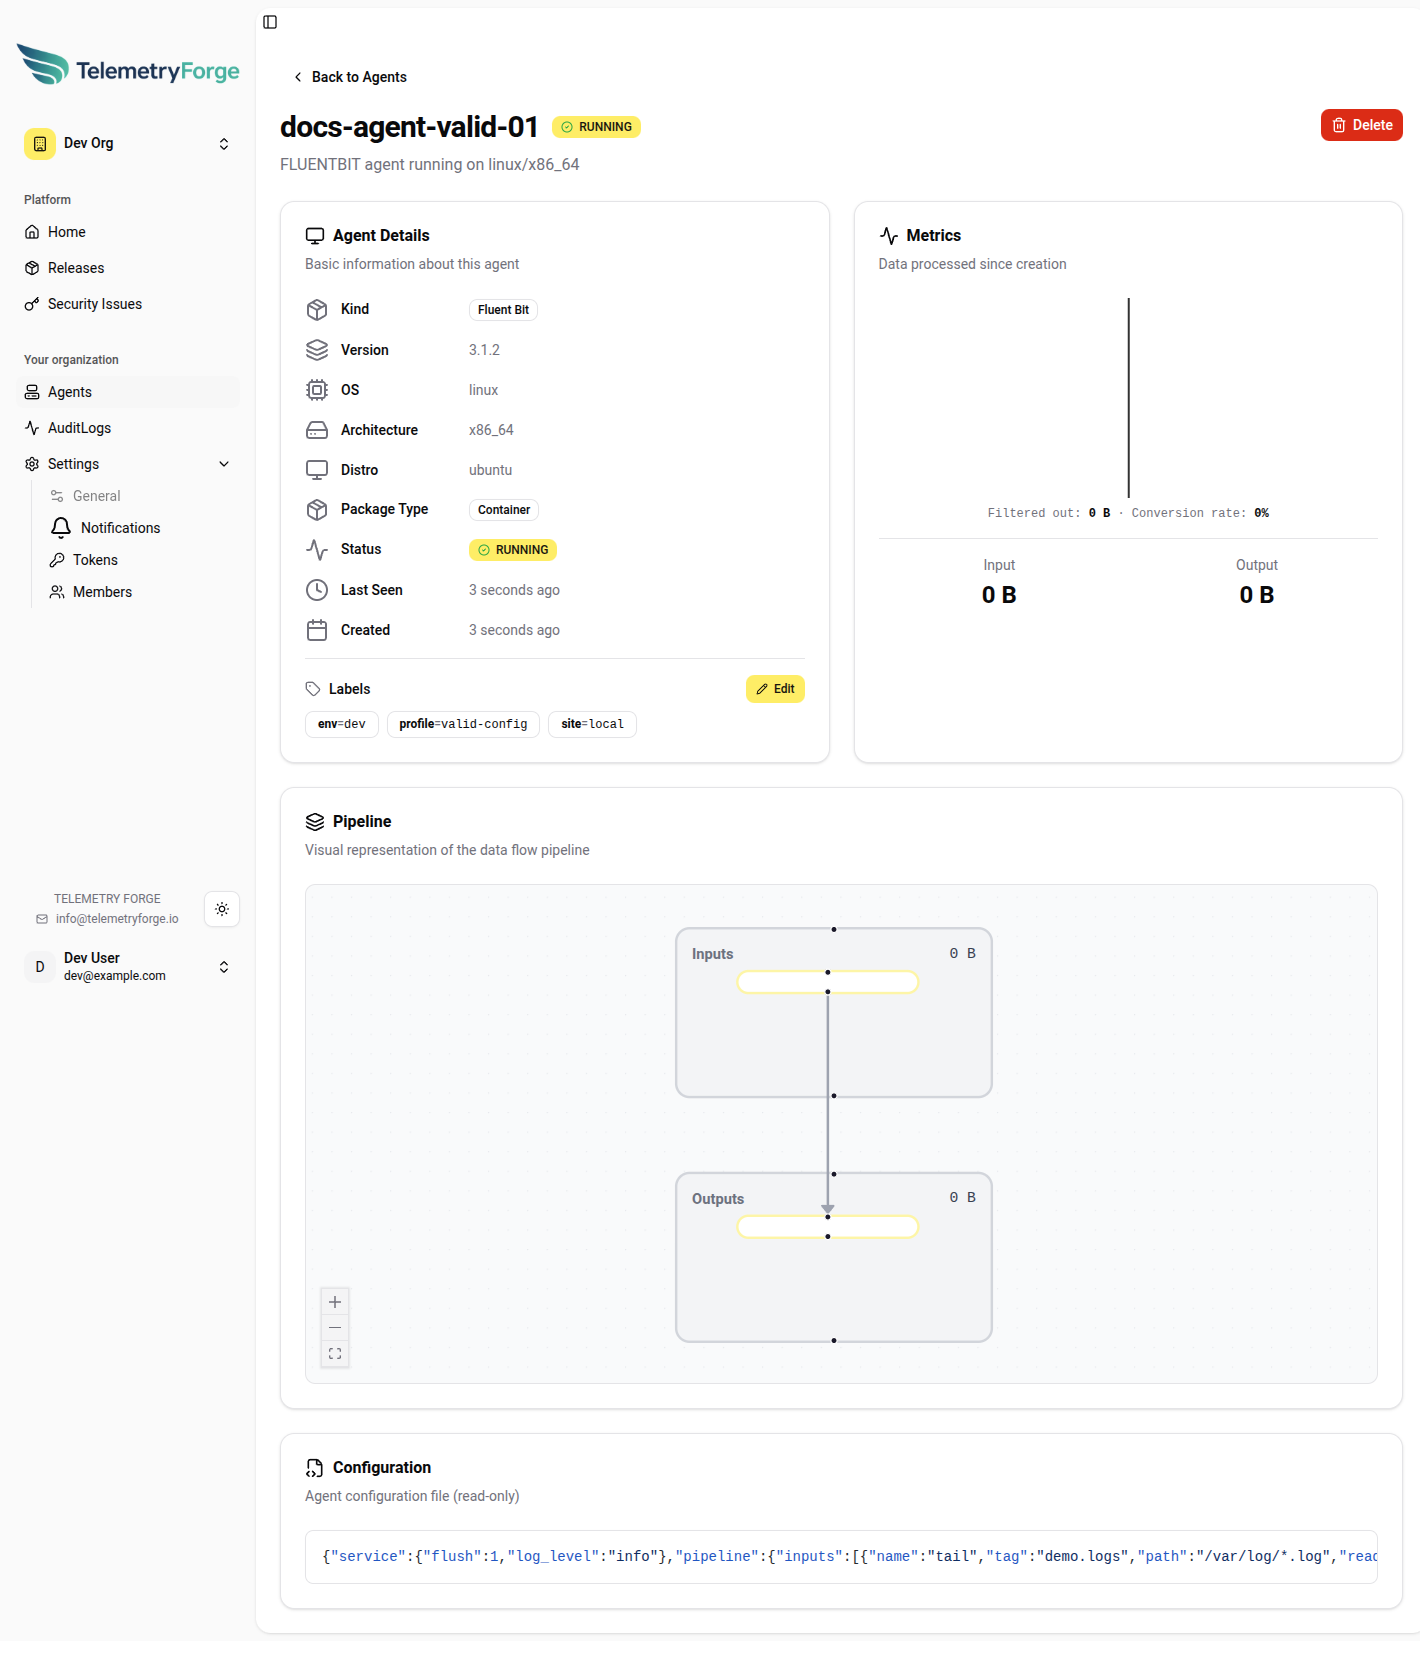
5. Control Agents from the UI
Once agents appear in Agents, use these controls:
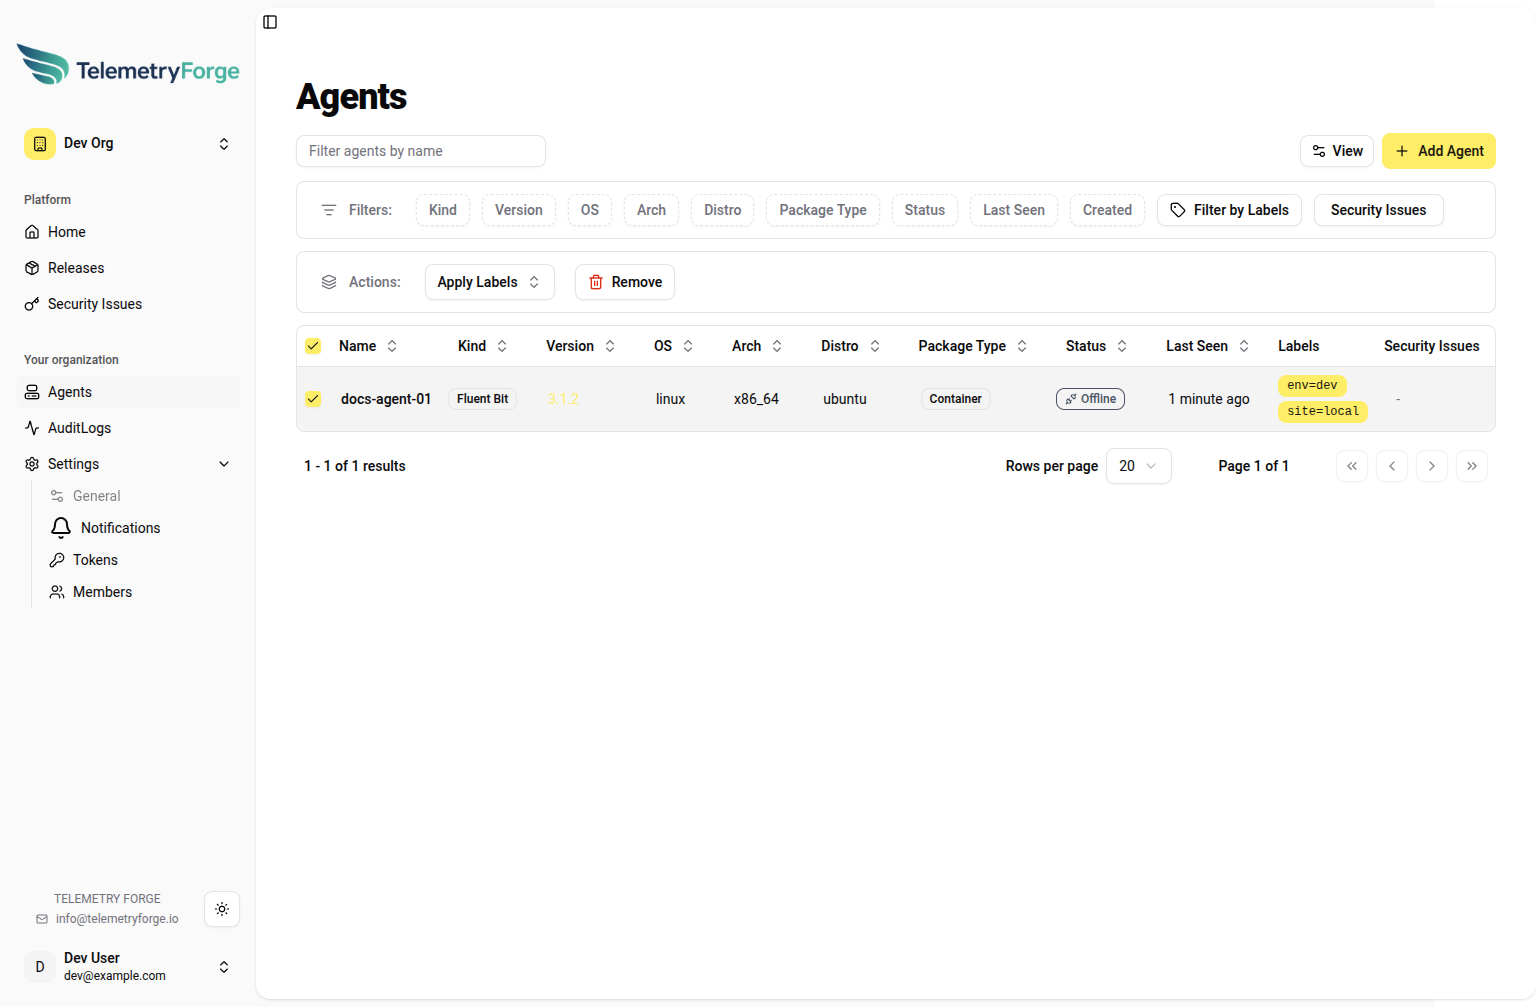
- Filter by name and use column filters (status, version, OS, labels).
- Click an agent name to open the detail page.
- On the detail page, review:
- Status and last-seen timestamp.
- Version and platform metadata.
- Labels.
- Input/output throughput metrics.
- Rendered pipeline/config sections.
- Use Edit in the labels section to update labels on a single agent.
- Use Delete to remove an agent.
6. Bulk Control Multiple Agents
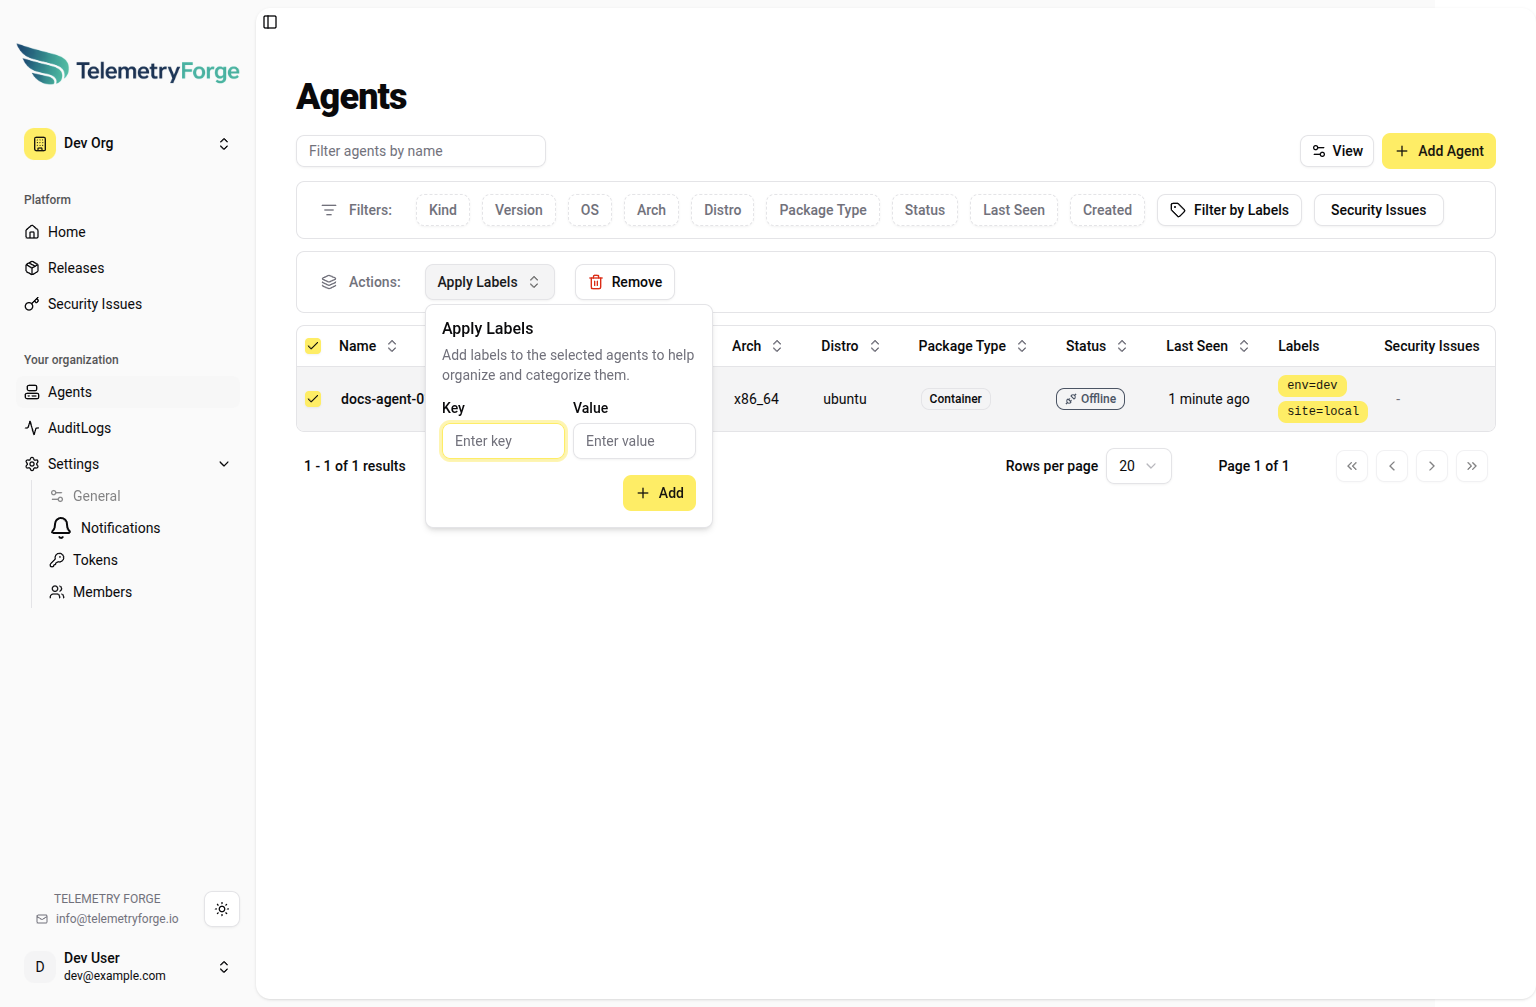
- In Agents, check one or more rows.
- Use Apply Labels to add labels to all selected agents.
- Use Remove to remove selected agents.
7. Review Audit Logs
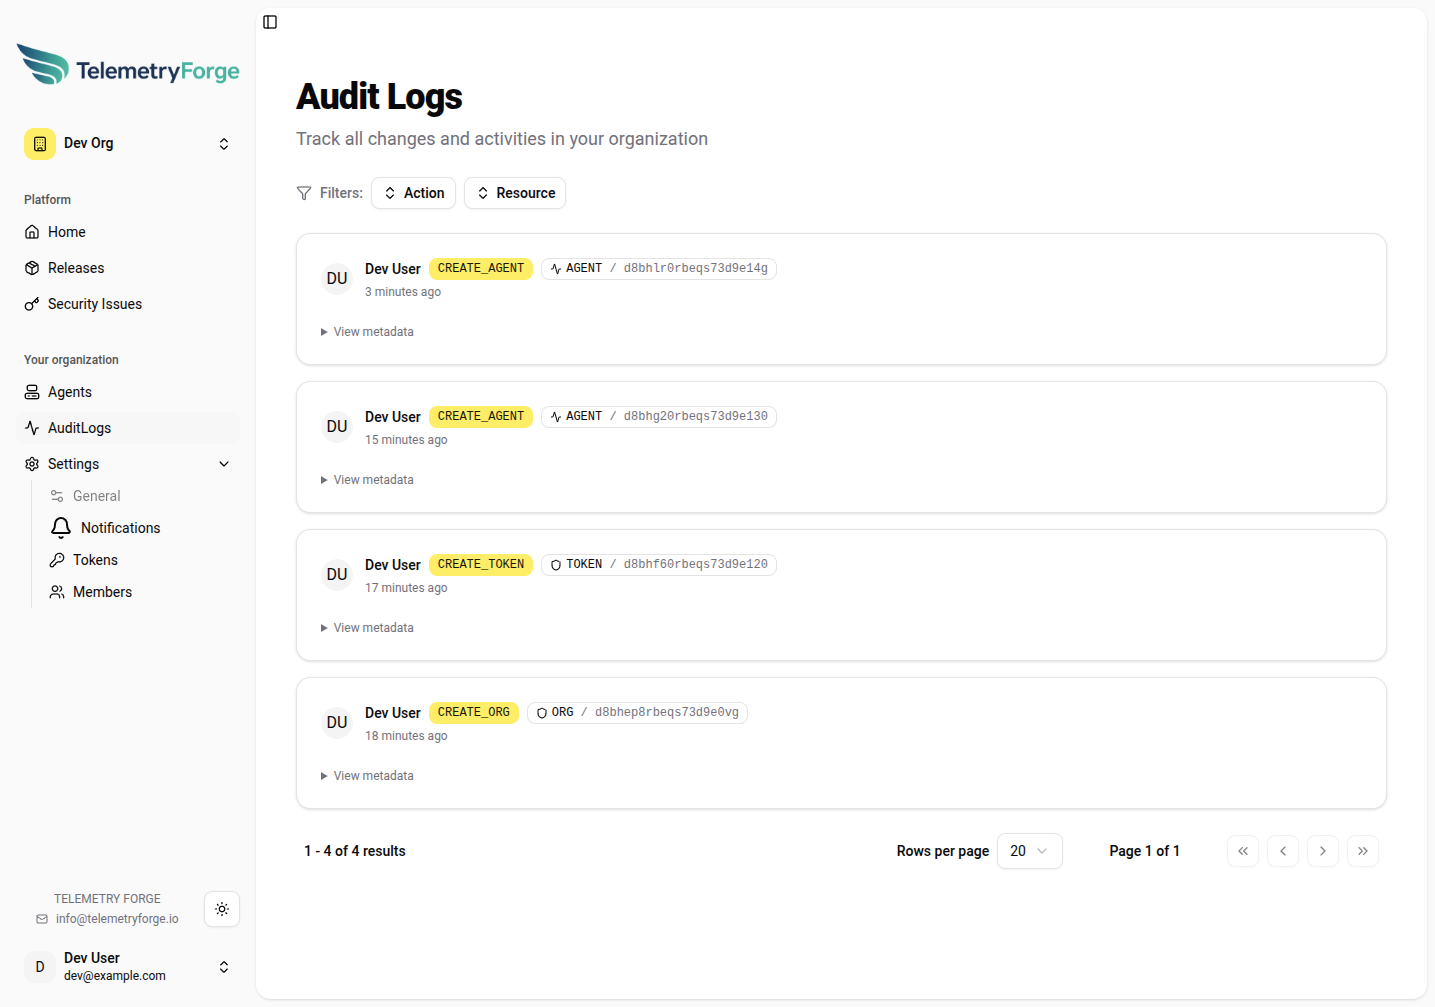
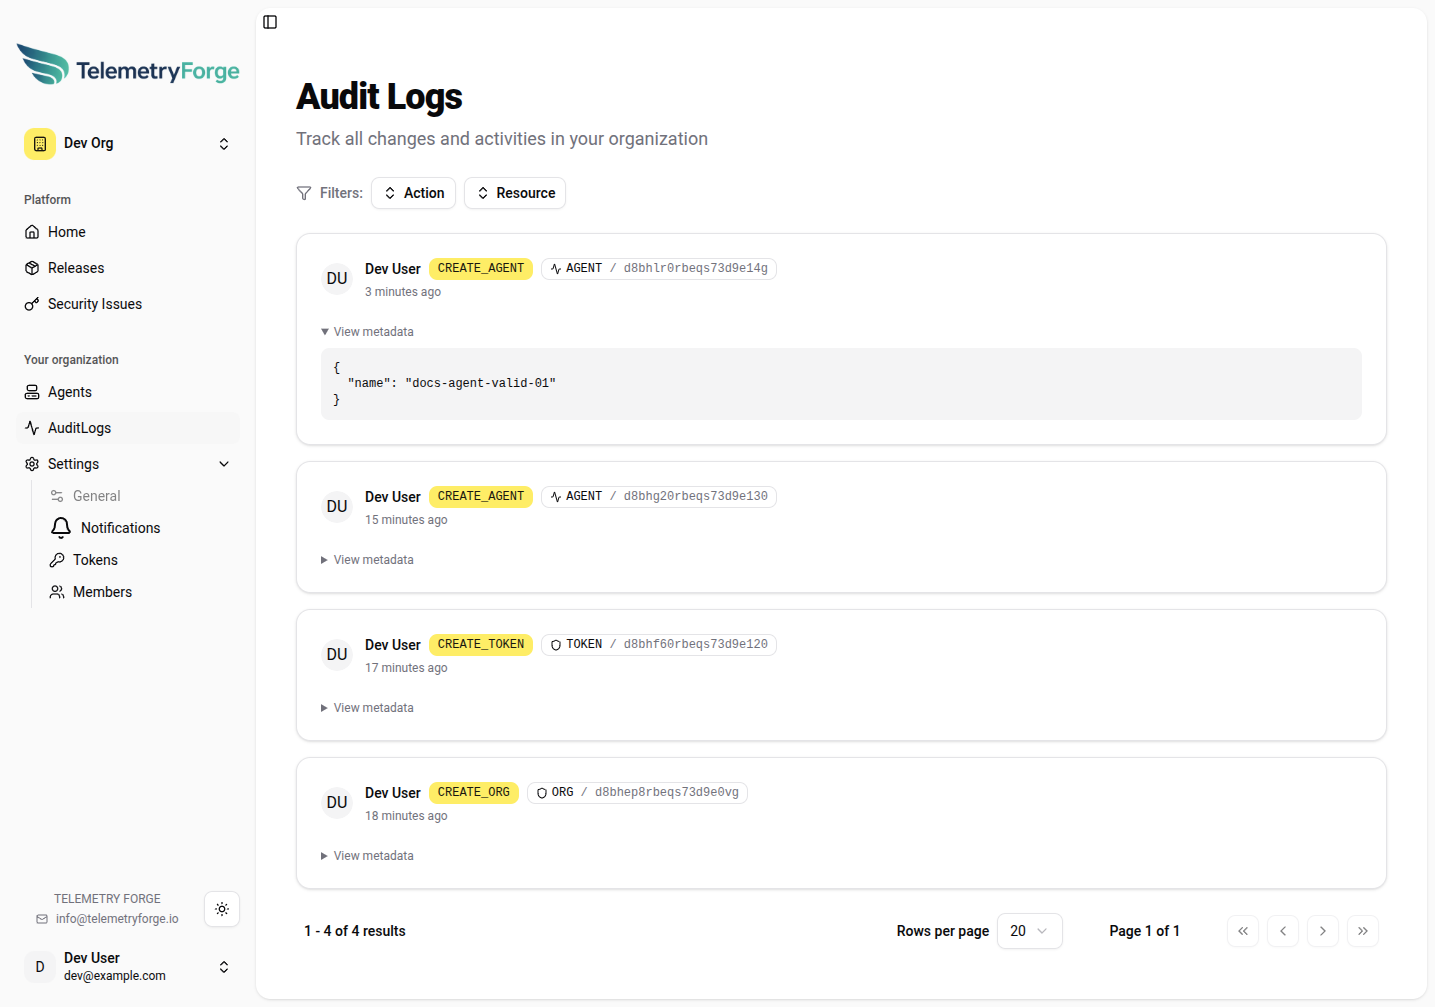
Use AuditLogs to track who changed what and when across your organisation.
- Open AuditLogs in the left sidebar under your organisation.
- Use the Action filter to narrow by operation type (for example
CREATE_AGENT,CREATE_TOKEN,UPDATE_AGENT). - Use the Resource filter to focus on object type (
AGENT,TOKEN,ORG, and others). - Review each entry for actor, action, target resource ID, and timestamp.
- Expand View metadata on an entry to inspect the request details/payload.
Common usage patterns:
- Validate who created or removed agents during rollout windows.
- Confirm token creation/deletion events during access reviews.
- Correlate operational changes with telemetry or service regressions.
8. Operational Tips
- Keep labels consistent (
env,region,team,service) so filtering and bulk actions stay predictable. - Use agent detail pages during incident response to confirm status and last-seen timestamps quickly.
- Treat token creation as sensitive: create per environment, rotate regularly, and store secrets in a secure system.